
I have been doing A LOT of printing in the last week and as I only have a week to go to get everything in project two rounded off I can't see that ending any time soon. So this evening I was finishing off the final element to one of my illustrations, a wolf. For the last few months iv been meaning to put up a blog on some simple ways to lino print from home. Now I'm not the greatest example, and if you asked I could point you in the direction of hundreds of more experienced printmakers than I, but I get by. So while I wait for this print to dry I shall run through the process quickly.
This "tutorial" is for a multi colour print from one piece of lino.
Before i start printing I find my image that I wish to print. I then break it down into the amount of colour groups that i wish to print. I am going to use 3 colours today. This means I will use two inks and the paper colour. I then transfer the image to the lino by rubbing pencil onto the page and then drawing around the image on the reverse. This transfers the image reversed so that the image you print will be the right way around, this is handing for printing text.

I then start cutting out the unused lino. I tend to write the colour on the areas of the lino that will be printed in that colour. This helps me remember where to cut out and where too stay away from.

I then coat up the lino with the first colour of the piece. In this case its dark grey. Make sure you don't put too much on the lino, I find that if the surface of the lino, with the ink, looks like a polished shoe your heading in the right direction.

This is one of the outcomes.
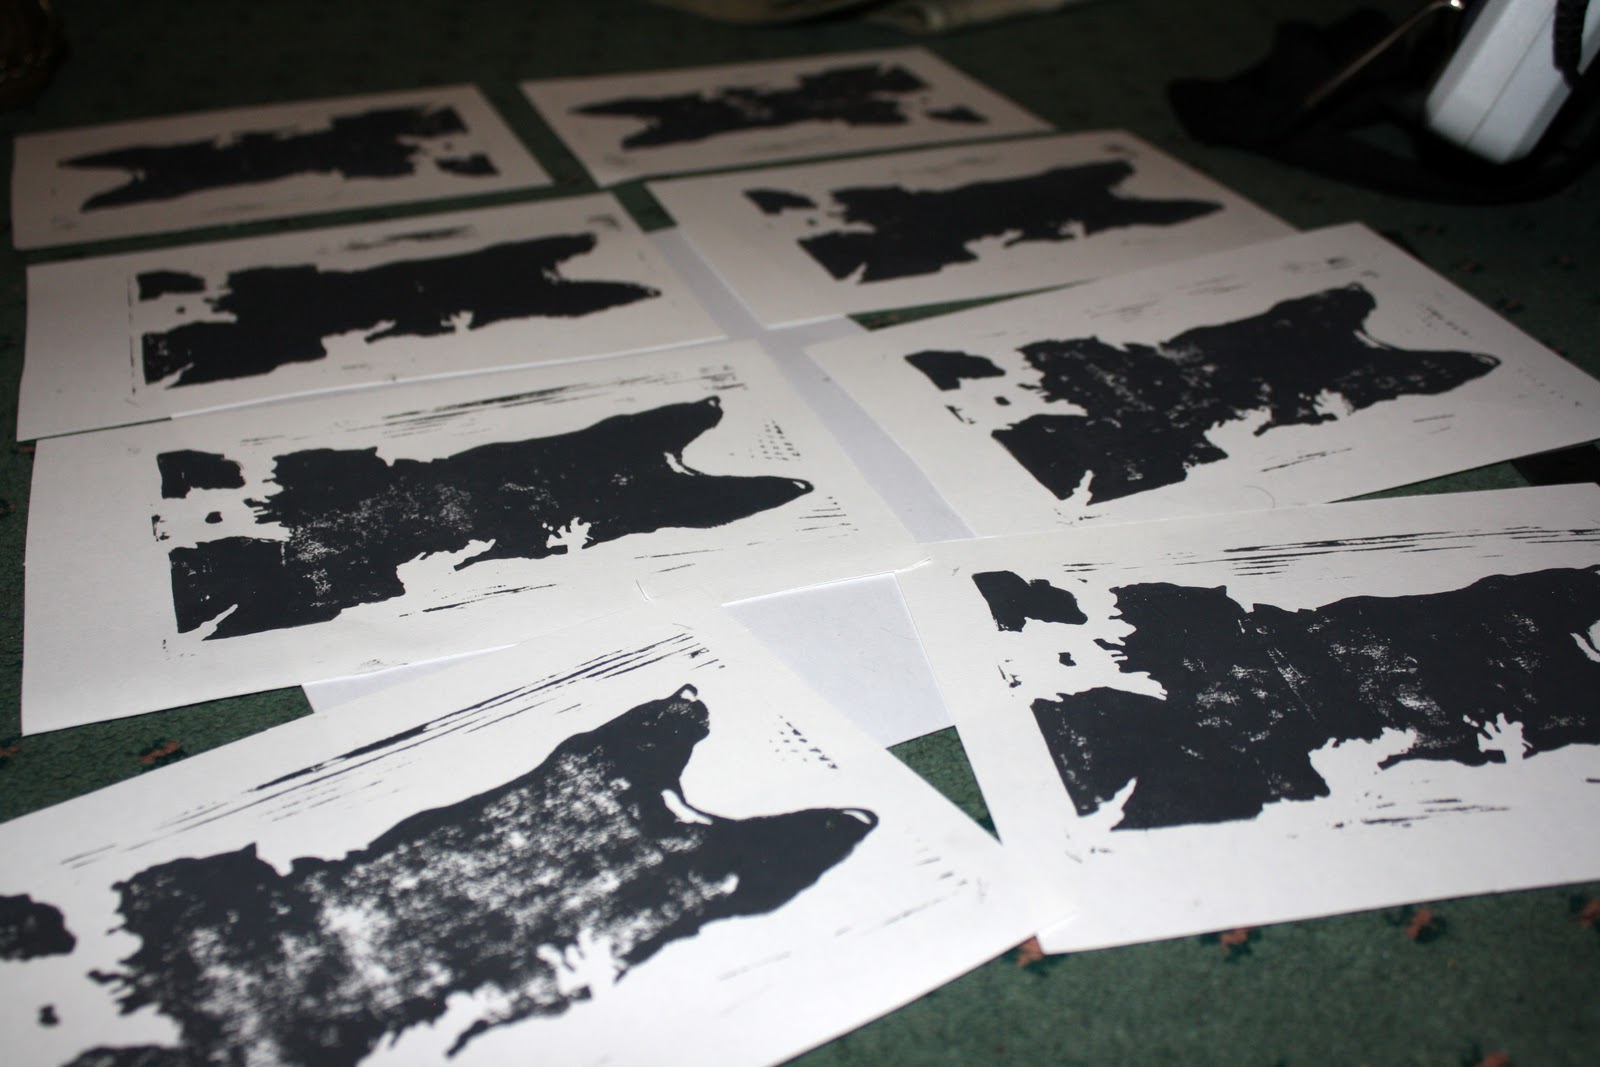
For my project I need have a great range of texture in order to show the grittiness of the scene to I have applied different quantities of ink to the lino to get different outcomes.

Next you go back to your lino and carve out all the areas that are labeled with the colour you just printed. This will leave you with only the final colour lino raised.

This is the lino all inked up. One of the most appealing things I find with lino is the random streaks of ink you find while inking the lino. If you don't want these you can easily just carve them out or wash off the ink before printing with a cloth.

These are the final outcomes. They are a bit ruff but that is the effect that I need in my illustrations. Now I will be taking them into Photoshop and fixing the colours and applying them to the Company of Wolves illustration.

Here is another closer up.
this could be coming in handy!
ReplyDeletegood tutorial! deffinatly something i want to try...but not now! maybe in the future i will, i had this idea of a girls neck, with a necklace, and some wolves! i think it will look awesome! i may use lino printing to do it
ReplyDeleteYou'd be a good teacher.
ReplyDeleteGood blog Jamie, I especially like this post!
ReplyDelete